
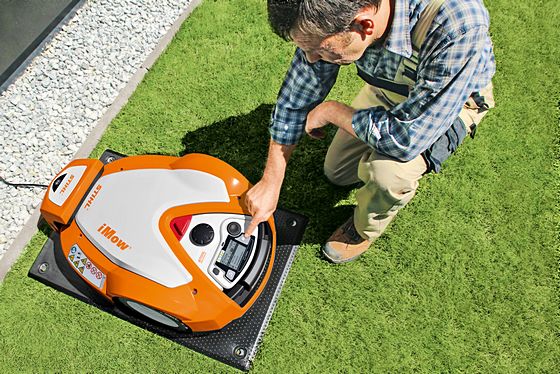
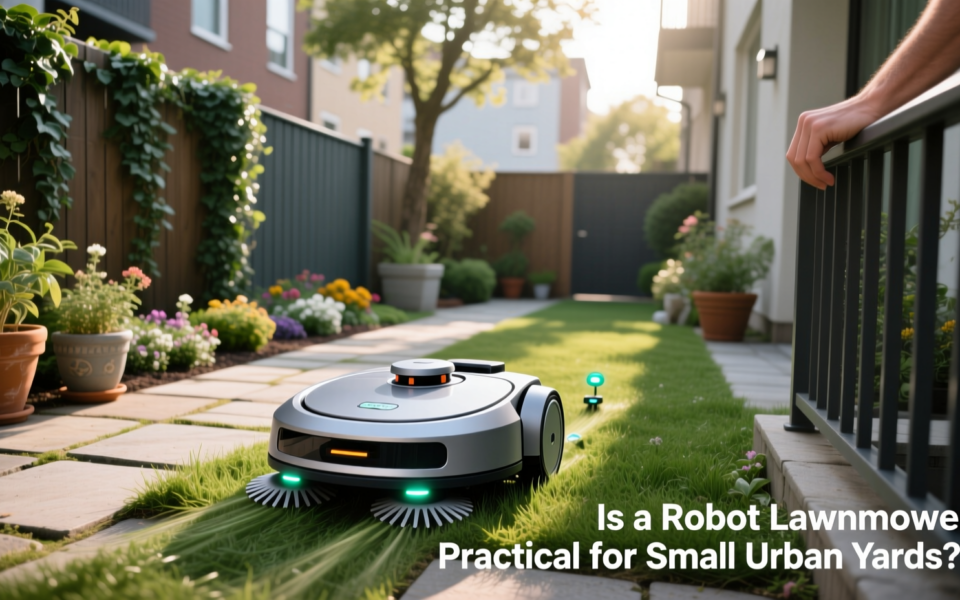
How to Set Up a Robot Lawn Mower in a Small Yard
Setting up a robotic mower in a small yard can be much easier than you might expect. Before you unbox anything, measure your lawn. A small yard is typically under 5,000 square feet [3]. Some robot mowers are best for urban settings or medium-sized yards, while others are designed for larger areas. You want a mower that can cover your entire lawn without running out of battery or taking an excessive amount of time [3]. Even though robotic mowers can handle up to 25 acres [2], a small yard does not need an oversized machine.
You also need to know what kind of boundary system your mower uses. A typical robotic lawn mower, especially earlier models, requires the user to set up a border wire around the lawn that defines the area to be mowed. The robot uses this wire to locate the boundary and, in some cases, to locate a recharging dock [2]. Other models use a wireless boundary setup: you install an antenna, a charging station, and then use the mower’s mobile app to map the mowing areas and off-limits areas [4]. Some high-end models also use virtual satellite-based boundaries [6]. Check your model’s manual before you choose an installation method.
Step 1: Choose the Charging Station Location
Placement is the most important part of the setup. The docking station should sit on dry, level ground [1]. It needs an open approach path — no tight turns or obstacles — so the mower can leave and return without getting stuck [1]. If your mower relies on RTK or satellite positioning, make sure there is clear sky above the dock [1]. Keep the dock away from walls and fences, minimize nearby reflective surfaces, and protect it from extreme sun exposure [1].
If you use a mobile app, the mower will need to be within Wi-Fi range to operate properly [3]. In a city, finding a spot for a base station or RTK beacon may be more challenging than it is in the suburbs [3], so check the signal coverage in your yard before securing anything.
For wireless-boundary mowers, the setup is centered on installing an antenna, the charging station, and using the app to map the yard [4]. The exact antenna placement matters, so follow your manufacturer’s instructions for that model.
Step 2: Set Up the Boundary or Mapping System
If You Have a Boundary Wire
Install the border wire around the perimeter of the mowing area. The robot uses this wire to locate the boundary of the area to be trimmed, and in some cases, to locate the recharging dock [2]. The exact wire spacing, stakes, and routing vary by model, so verify the details in the manufacturer’s manual.
If You Have a Wireless or Virtual Boundary
Start by installing the antenna and the charging station, then use the mower’s app to map the mowing areas and off-limits areas [4]. In a published hands-on setup, the person used the app to remotely drive the mower along the boundary, pressing a waypoint button each time the mower changed direction. Waypoints only need to be set every few feet along curves, and straight lines can be set only at each end [5]. Some users pair a Bluetooth controller to make this easier [5].
Set the Home Position
When the mower leaves the station for the first time, before you start mapping, it will drive out a few feet from the charger and set a “home” position. Every time it has to return, it will drive to that point and line itself up to the charger so it docks properly [5]. Let it do this before you think about scheduling the first mow.
Step 3: Connect, Update, and Let It Learn
After the station is in place, secure it to bare ground with the screws provided for that purpose [5]. Put the mower on its dock, power it on, and let the station connect the mower to its network [5]. Then pair the mower with the mobile app, connect it to Wi-Fi, and check for firmware updates. Wi-Fi is optional, but it is worth it for remote monitoring [5].
Suggested read: How to Maintain a Robot Lawn Mower in a Small Yard: A Practical US Homeowner’s Guide
Many robotic mowers move in a random pattern on purpose. That ensures they cover every corner of the lawn over time without leaving track marks [6]. High-end models use GPS-assisted navigation to map the yard and optimize mowing patterns [6]. Some models also contain rain sensors [2], so check how your mower handles wet weather.
A robotic mower can find its way back to the charging station in a few ways: following a guide wire, tracking the boundary wire back, or using onboard GPS to find the most efficient path [6]. In a small yard, any of these methods can work if the dock is positioned correctly.
Step 4: Add a Garage or Shelter if Needed
A garage or shelter is not always required, but it can help in a small yard. It keeps leaves and debris from collecting around the base, prevents mud from building up after rain, and keeps sensors and charging contacts clean. A dirty or obstructed docking station can lead to failed docking attempts, inconsistent charging, and more manual intervention [1].
A garage can also make the mower less noticeable from the street, reduce curiosity or tampering, and add a small layer of passive security [1]. If you live in an area with extreme heat and UV exposure, use UV-resistant materials, prioritize shade and airflow, and avoid heat-trapping designs [1].
Watch the Signal Conflict
There is an important conflict to resolve here. If your mower uses RTK or satellite positioning, a garage roof can block the GPS/RTK signal [1]. The same guidance says to make sure there is clear sky above the dock for RTK mowers [1]. That means you should not put a solid roof directly over the dock if it blocks satellite reception.
Choose a shelter that leaves a clear view of the sky, or position the dock so it sits outside the roofline. Before buying or building a garage, verify with the manufacturer or retailer that the design will not interfere with the mower’s navigation [1].
Published guidance says prebuilt garages are best for simplicity and reliability, while DIY garages can be fully customizable and lower cost. But DIY garages can also come with problems: roofs that block GPS/RTK signals, garages too small for proper docking, poor ventilation, and misalignment with the charging station [1]. If you build your own, you need to understand those technical constraints before you start [1].
Step 5: Maintain the Mower and Its Docking Area
Small yards still need regular maintenance. Replace the small, razor-sharp blades every 1 to 2 months, depending on lawn size and grass type [6]. The mower uses a “micro-mulching” technique — cutting just a few millimeters at a time — so keeping the blades sharp is essential. Sharp blades ensure the grass is sliced cleanly rather than torn [6].
Also inspect the docking area regularly. Leaves, debris, and mud can block sensors and charging contacts [1]. A garage can help shield the dock, but it does not replace cleaning. Wipe down the charging contacts and remove any buildup around the base.
Final Checklist Before You Buy or Install
Before you buy or install anything, verify the current manufacturer or retailer listing for your exact model. Prices, stock, discounts, ratings, shipping, availability, package contents, accessories, compatibility, and model-year details can change. The specifications in any guide or review are a starting point, not a promise. Check the current listing and the manual for your specific mower.
Suggested read: Best Robot Lawn Mowers for Small Yards: A Practical 2026 Guide
Confirm that your yard is within the mower’s rated area [3]. Check that you have reliable Wi-Fi or the required network setup [3], and that you can install the boundary type the model uses [2][4]. If you plan to add a garage, confirm the shelter will not interfere with the mower’s navigation [1]. Then follow the manual’s instructions for final calibration before the first cut.
Sources
1. https://us.mammotion.com/blogs/news/robot-lawn-mower-garage-guide 2. https://en.wikipedia.org/wiki/Robotic_lawn_mower 3. https://www.cnet.com/home/yard-and-outdoors/best-robot-lawn-mowers 4. https://www.lowes.com/n/how-to/set-up-lawn-for-robotic-mower 5. https://www.popularmechanics.com/home/lawn-garden/a71536148/how-to-set-up-a-robot-lawn-mower 6. https://www.husqvarna.com/us/discover/robotic-mowers/automower-how-it-works

This Post Has 2 Comments